
I love cooking, trying new recipes, eating at new places, and I love sharing recipes and photos of the food that I love!
Over time I’ve gotten questions about what my set-up is like when taking photos of food for blog posts. I wanted to go above and beyond with this post, so I’m going to share my set-up, my tips, and how I edit!
To start off, good lighting is everything. This applies to photography in general, but especially food photography. I would recommend non-direct natural light for all food photography photos. Some days I will set up right next to a window, or just take it outside onto my porch!
My Set-Up
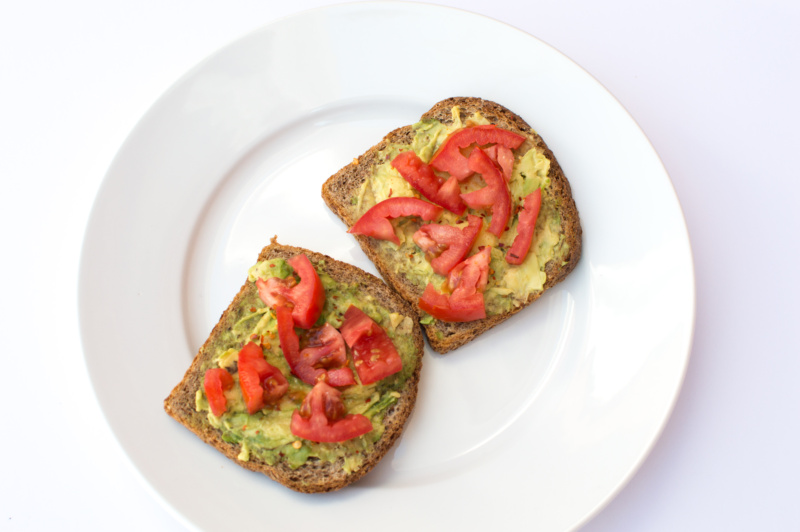
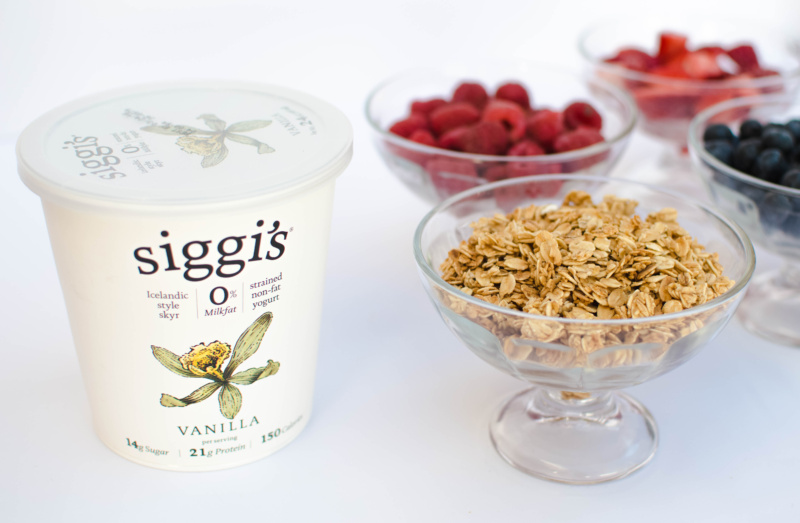
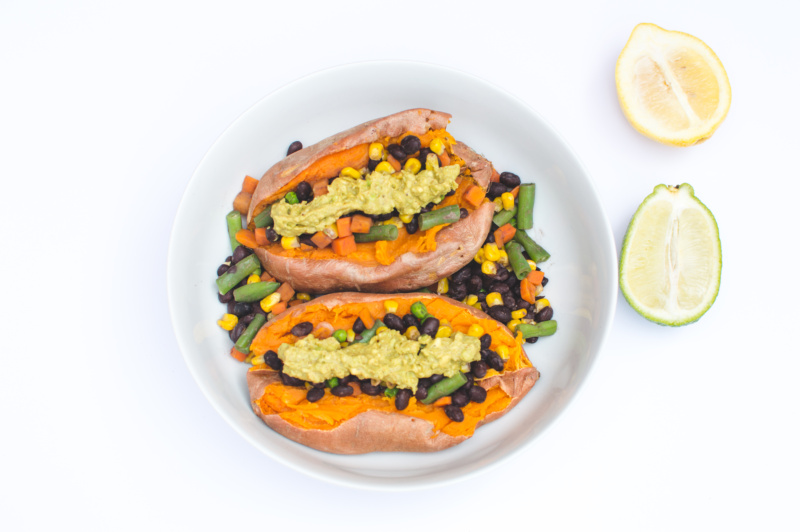
My set-up is very simple! I use a white foam board for photos that I want to be clean & bright-looking. Some other options for “backdrops” are tiles, wood slabs, etc. The foam board is by far the cheapest option, and in my experience always looks great!
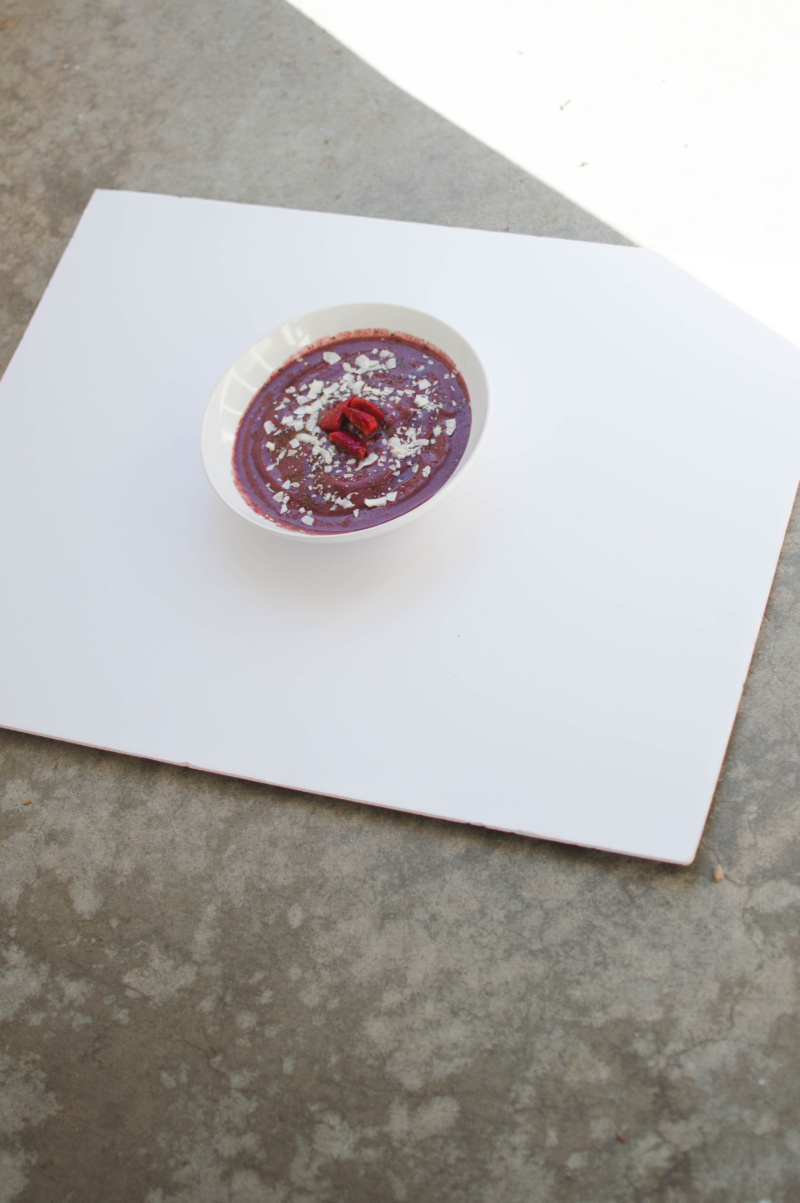
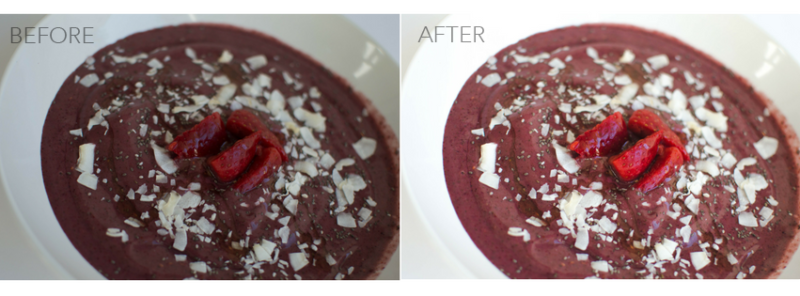
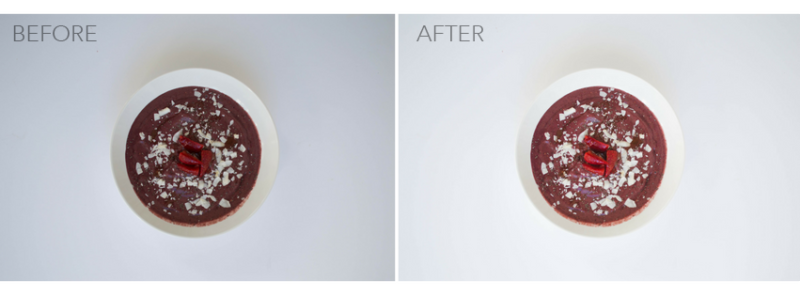
Here are some photos that I’ve taken using a foam board as the backdrop:
EDITING:
I use Adobe Lightroom for food photography editing. My process is pretty streamlined by now. Here is a photo that shows the changes I made to the above photos. I’ve also included the steps that I take to achieve this look 🙂
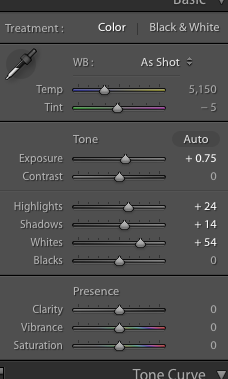
1. Adjust your exposure & temperature if needed.
The best way to have a dud of a food photo is for it to be under-exposed and blue-toned!
2. Raise your highlights, whites, and shadows, slightly.
This will brighten the photo up and if you have a white background, it will make it appear more like a “true white.” Also, the lightening of the shadows will help show the details of the food.
3. If you have a food that isn’t showing up as vibrant as you would like, you can adjust the saturation of that certain color.
For example, in the photos below I wanted the strawberries to stand out more. To achieve this, I raised the saturation of the red tones in the photo!
That’s it! 🙂
